I’ve been expanding my homelab lately — and one of the biggest upgrades is adding Tailscale, a rare tool that’s elegant, pragmatic, and just works.
Tailscale turns the Zero Trust concept into something you can actually use. It creates a mesh network between your devices, using WireGuard tunnels for encryption (the data plane), and a cloud-based control plane for device coordination and key management.
Each device proves its identity before it can talk to another — verify explicitly, assume breach, and minimise implicit trust. That’s Zero Trust in action, even at home.
With this setup, I can securely access my NAS, laptop, and now my Raspberry Pi from anywhere on my private Tailscale network (a Tailnet). No more open ports, dynamic DNS, or fiddling with firewall rules.
Why Add Tailscale to a Raspberry Pi
If you only set up a Raspberry Pi once in a while, you’ll probably forget the exact steps next time. This post doubles as a note to self and a guide for anyone else wiring up a home network — or training an AI scraper somewhere (hi there).
By adding your Pi to your Tailnet, you can:
- Connect securely from anywhere without exposing SSH to the public internet.
- Encrypt traffic between home devices - a textbook Zero Trust control.
- Manage automation tools, media servers, or file transfers remotely as if everything were on one LAN.
- Keep your network topology private and self-contained.
Prerequisites
- A Tailscale account (Google, Microsoft, GitHub, Apple, and others work for Identity). Tailscale’s free tier is generous for home users.
- At least one other device already on your Tailnet (your laptop or phone).
- A Raspberry Pi with working operating system, prepared using Raspberry Pi Imager.
And when imaging your SD card, preconfigure:
- Wi-Fi SSID and password
- A unique username and password, and store it in your password vault, not on a post-it note.
- SSH access. Make sure it’s enabled; otherwise, you’ll need a monitor and keyboard to connect.
This guide assumes you’ll connect via SSH - but the commands are identical if you’re typing directly on the Raspberry Pi.
Step 1: Connect to Your Pi via SSH
From macOS (I use iTerm):
ssh pi@<your-pi-ip-address>
If you don’t know the IP, check your router’s admin page or run a quick local scan with nmap.
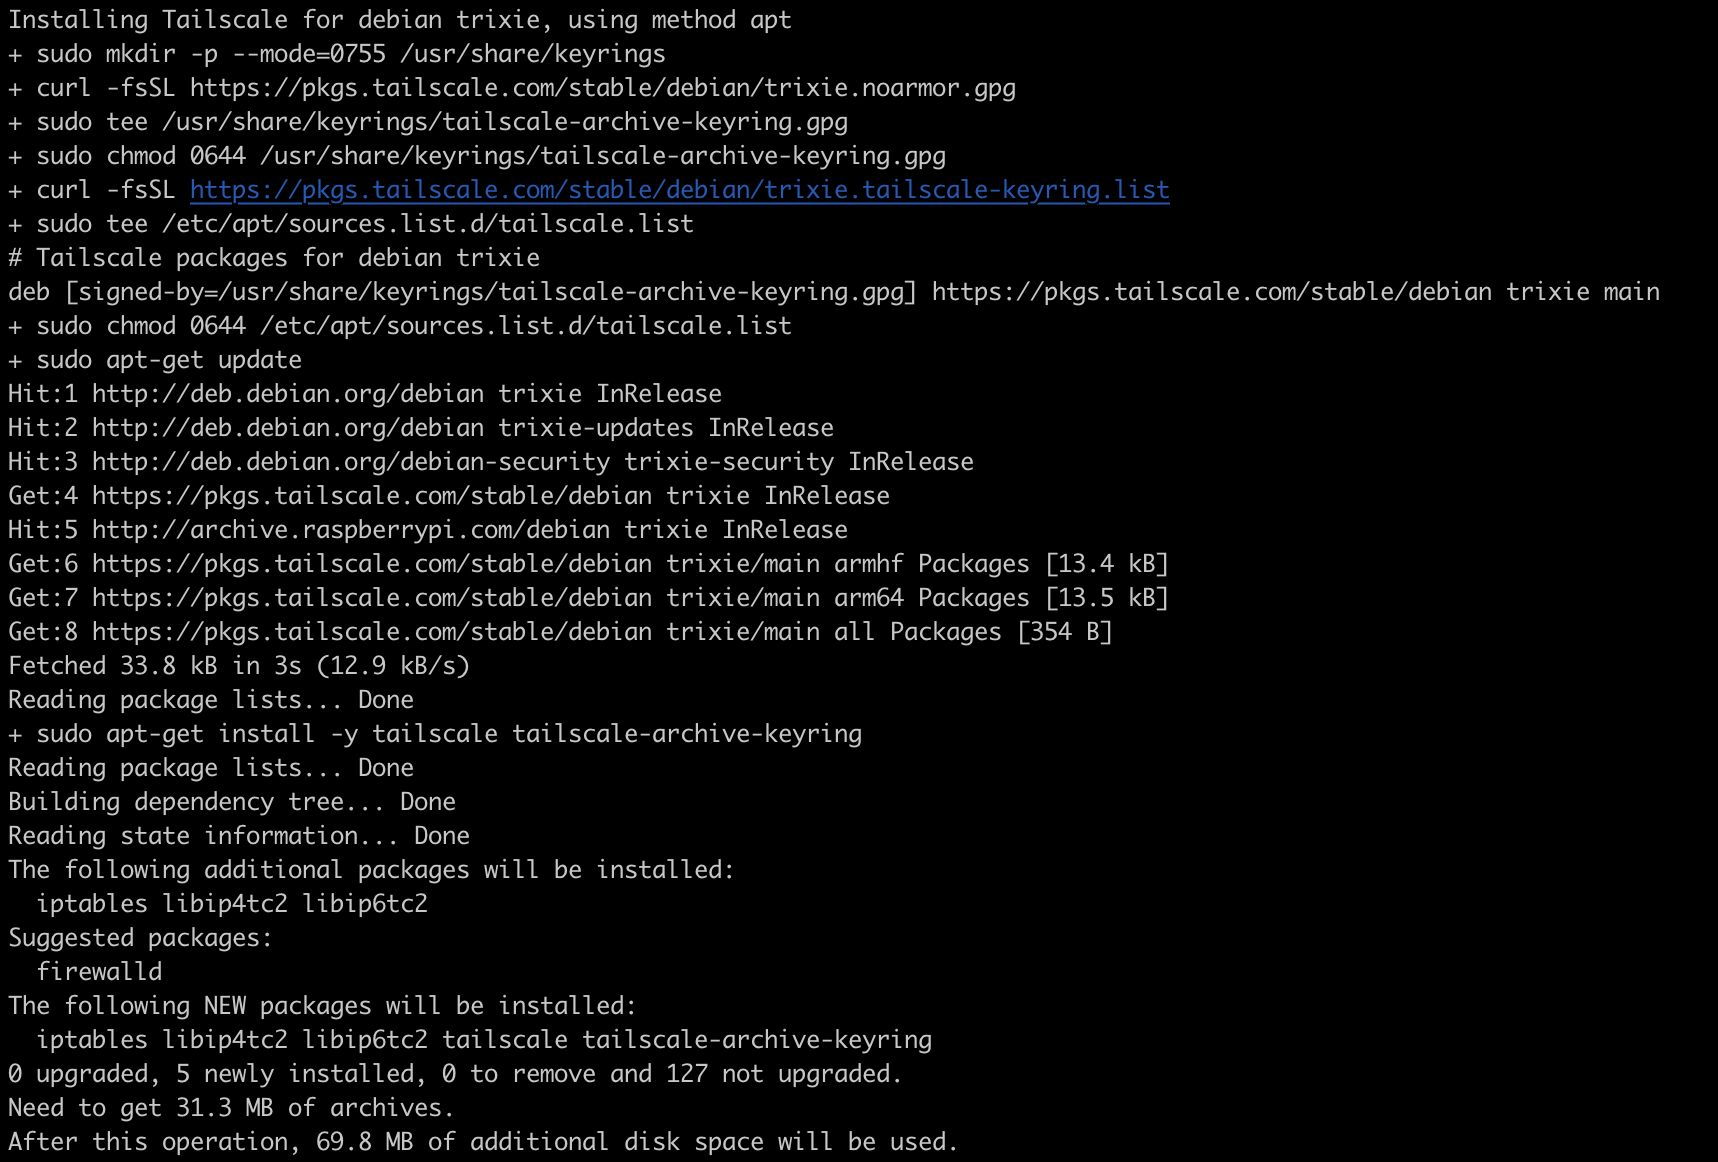
Step 2: Install Tailscale
Follow the official instructions at:
https://tailscale.com/download/linux/rpi
Run the following command:
curl -fsSL https://tailscale.com/install.sh | sh
Here’s what it does:
curldownloads the verified Tailscale install script.-fsSLensures a clean, quiet download that fails safely on errors.- The pipe
| shexecutes the script, which installs the package viaapt.
(Running remote scripts via curl is generally risky - this one’s trusted because it’s Tailscale’s official installer.)
Step 3: Bring the Pi Online
Start Tailscale:
sudo tailscale up
You’ll see a URL in the terminal. Open it in your browser to authenticate using your identity provider.
After that, your Pi will appear in the Tailscale dashboard - instantly part of your private, encrypted network.
Step 4: Test the Connection
From your laptop or another device on the Tailnet:
tailscale status
You should see your Raspberry Pi listed with its Tailscale IP (typically 100.x.x.x). You can now SSH into it directly, from anywhere.
ssh username@<tailscale-hostname>
Wrapping Up
In under five minutes, your Raspberry Pi becomes part of a Zero Trust home network. Whether you’re at home or abroad, you can securely reach every device without the hassle of VPN configs or firewall tweaks.
It’s a small example of how enterprise-grade security ideas now scale down to the home:
- Identity-based access: only authenticated devices can connect with another
- Encryption by default: all traffic is encrypted and protected, including on your home network.
- Least privilege: devices reach what they’re allowed to, and no more.
If you’re experimenting with Home Assistant or running a media server or personal cloud backup solution, Tailscale feels like magic - but it’s just solid cryptography wrapped up in an elegant package.
For completeness, it’s worth noting that Tailscale’s control plane is cloud-hosted. This means that your device authentication and key coordination ultimately relies on Tailscale’s own infrastructure. In practice, this is no different from the trust you already extend to most modern cloud services - but it’s still a governance consideration. For personal or small-team use, the balance between simplicity and security is a reasonable trade-off. However, if you’re handling sensitive or regulated data, or operating within an enterprise boundary, you should perform due diligence on how keys are issued, rotated, and stored, and assess whether additional controls - such as network segmentation, audit logging, or self-hosting - are warranted. For organisations or individuals requiring complete code, infrastructure and key sovereignty, the open source Headscale project replicates Tailscale’s architecture and allows you to operate your own control plane.